How to curve text in photopea?
August 15, 2022Hello Friends 👋,
Welcome To aGuidehub! ❤️
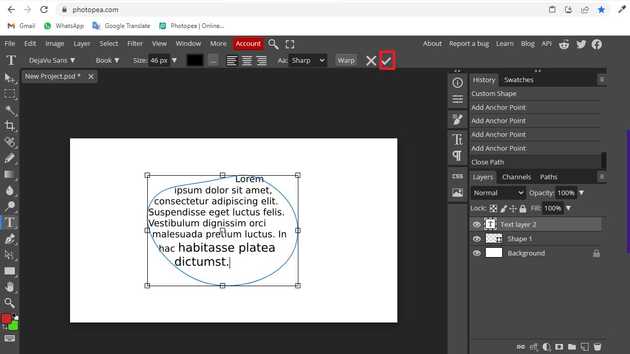
To curve text in photopea, click on the curvature tool and draw a curve in the area in which you want to curve text then click on the sign button. It will curve text the selected area.
Today, I am going to show you how I curve text in photopea
Table of contents
- Add new page
- Select curvature tool
- Select type tool
Let’s start with the first step.
Step 1: Add new page
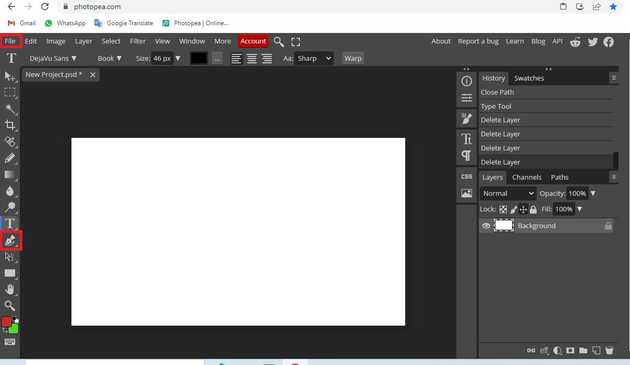
Go to file and click on new and choose new page.
Step 2: Select curvature tool
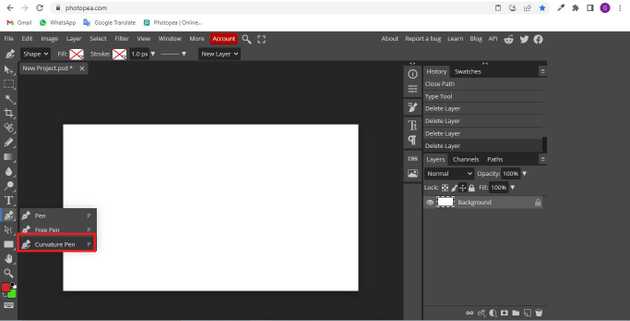
When you switch to a new project, see the side bar, click their Curvature Pen Tool now.
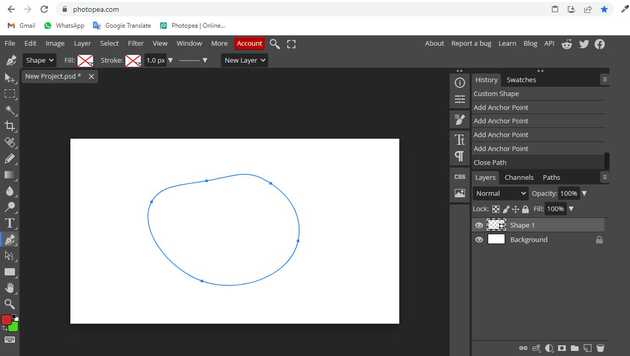
Draw a shape on the page with the help of the curvature tool.
Step 3: Select type tool
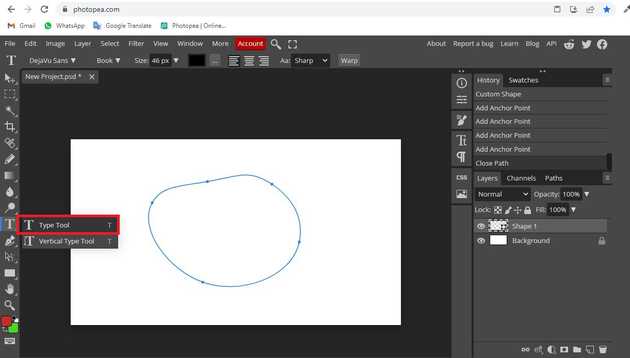
Select the type tool and click on page.
The rectangle will be made around that path, and the text will be constrained by a curve of that path. then click on tick mark.
To create a text on a curve, select a curve first (in Paths panel, or a shape layer / vector mask), and click on its contour.
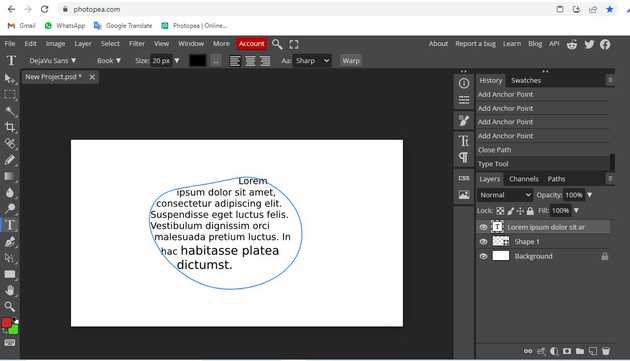
When you follow the above steps then it will curve text and it will show on the photopea .
All the best 👍
