How to do glitch effect in photopea?
September 15, 2022Hello Friends 👋,
Welcome To aGuidehub! ❤️
To do a glitch effect in photopea, you have to use adjustment, hue-saturation, blending-options, and rasterize then it will make a glitch effect on the image.
Today, I am going to show you how I do glitch effects in photopea.
Table of contents
- Insert image.
- Click on blending-options
- Create a folder.
Let’s start with the first step.
Step 1: Insert image.
Open the photopea and Select photo, it will open a file browser or download folder you can select the image. And click the open button.

Go to layer click on adjustment -> hue-saturation then open a dialog box.

And set the hue 0, saturation -100 lightness 0.

Going to the right side of the photopea, in the layer panel, first select the layer, and click on blending options.

Go to the blending option and uncheck the red channel. Move the layer to the left or right to create RGB split effect.

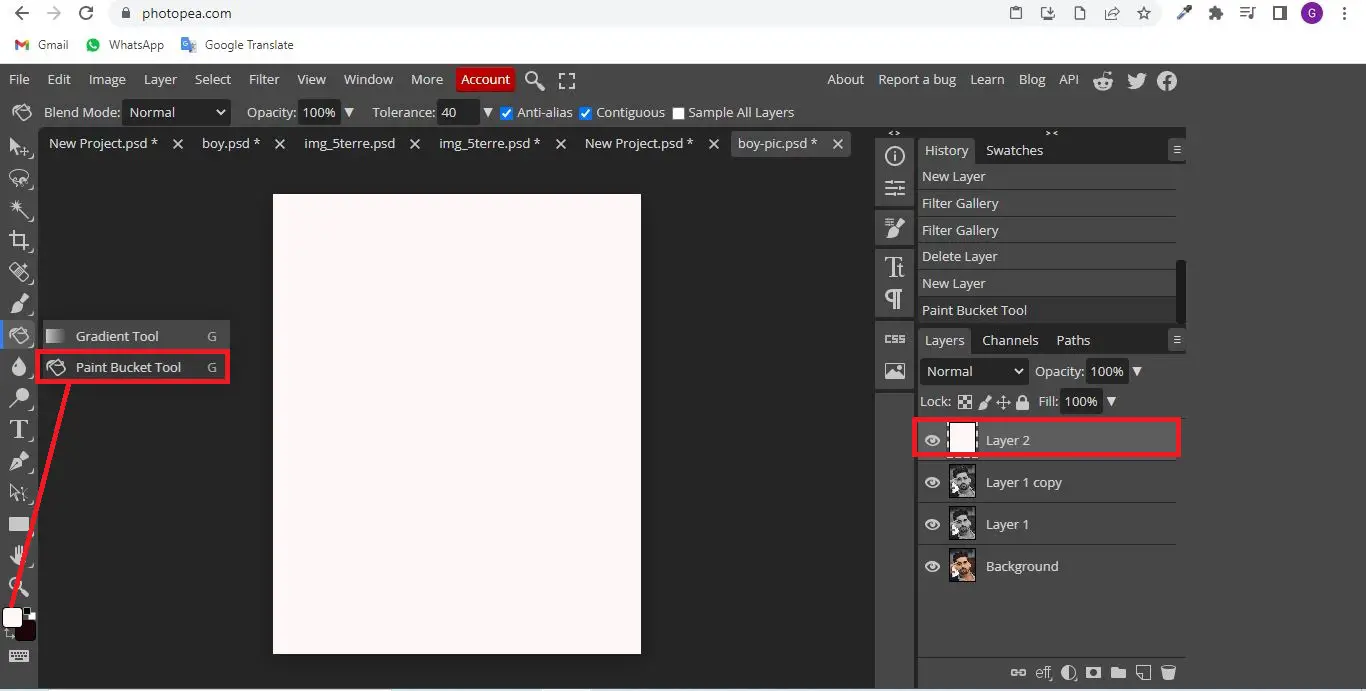
Create a transparent layer, select the paint bucket tool, set the white color then fill on the layer.
Go to the top of the menu and click on filter.

Add the glitch lines and make the blend mode overlay and reduce the opacity to 20%.

Press on the shift button and then select all layers.

Step 3: Create a folder.
Secete all layers, click on the new folder icon and create a folder. and create one duplicate folder.

Click the right mouse button on the duplicate folder and open the popup then select convert to smart object.

Then Click the right mouse button on the duplicate folder and open the popup then select rasterize.

Add Glitch Effect using Rectangle Select Tool and Move Tool.

When you follow the above steps then it will do a glitch effect in photopea.
All the best 👍