How to do double exposure in photopea?
September 17, 2022Hello Friends 👋,
Welcome To aGuidehub! ❤️
To do double exposure in photopea, first, insert two images, reduce the opacity of the second image, right-click on the page to make selection, then set adjustments -> hue-saturation. It will do double-exposure of the image
This tutorial is about how to create a double exposure by overlapping two different images in Photopea. The effect is shown below:
Table of contents
- Insert images.
- Change the opacity.
- Choose the pen tool.
- Go to layer panel.
- Select the adjustment -> hue-saturation.
Let’s start with the first step.
Step 1: Insert images.
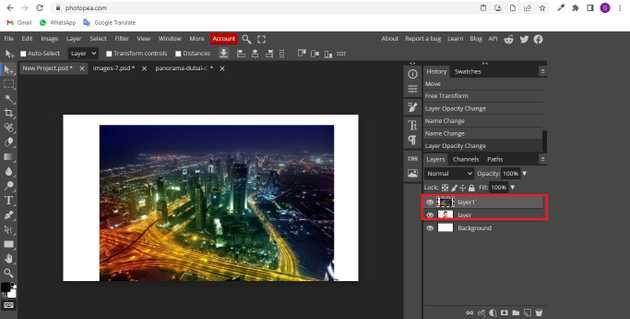
Open the photopea and Select photo, it will open a file browser or download folder you can select the image. And click open button.
Open the two photos you want to use for the effect in Photopea. The one .png photo and one photo .jpg will appear in two separate tabs after you open them up.
Combine the photos to appear in the same tab. Copy and Paste your first photo into the tab with your second one.And go to the layer panel then set the opacity to 65%.
Step 2: Change the opacity.
Step 3: Choose the pen tool.
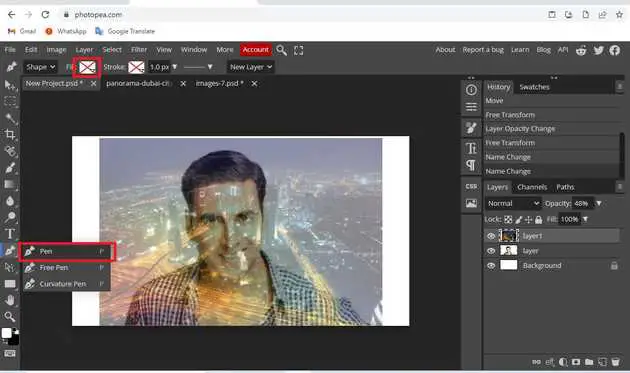
Go to the toolbar select the pen tool, first set no color.
Go to the toolbar and select the pen tool.
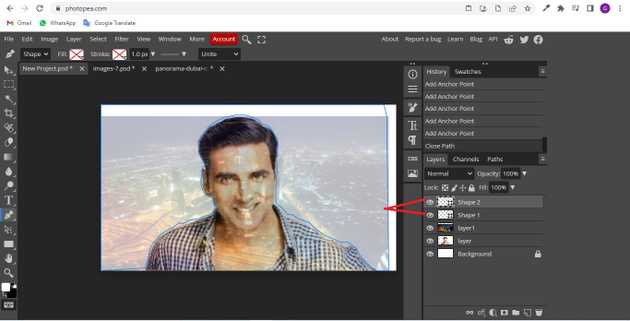
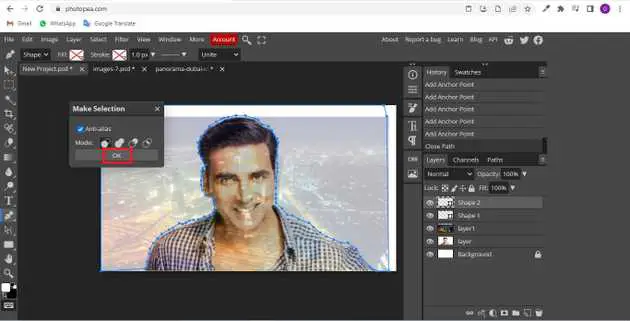
Click on the image and select the area with the pen tool.
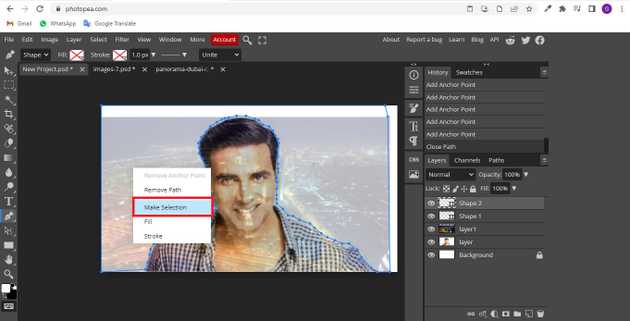
Click on the right side mouse button and open the popup and select make selection.
Then click on the ok button.
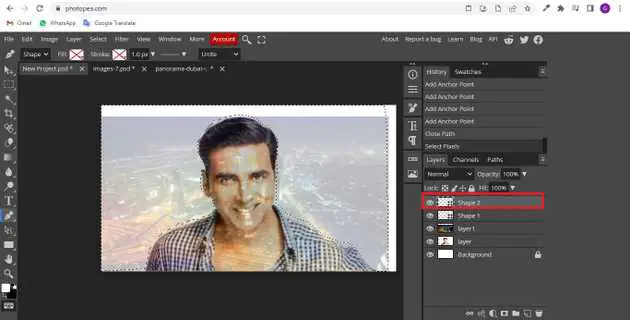
And the selection of the pen tool changed.
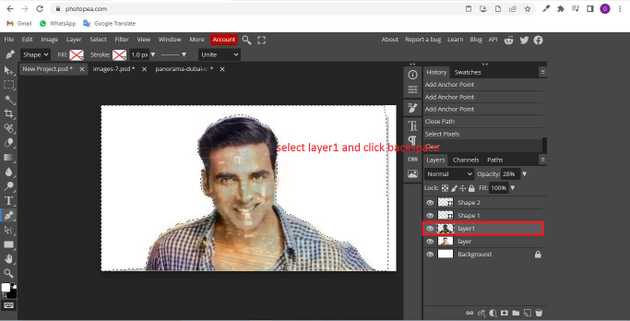
Step 4: Go to layer panel.
Go to the layer panel and select layer1 then press on the backspace keyword.
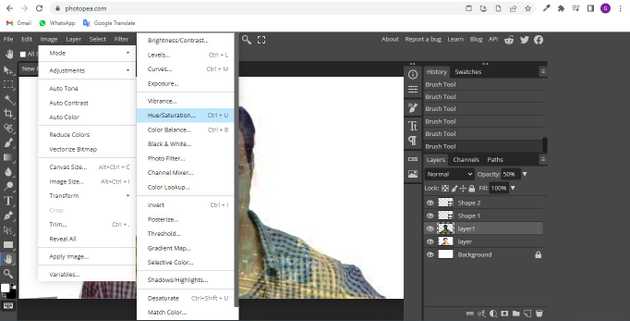
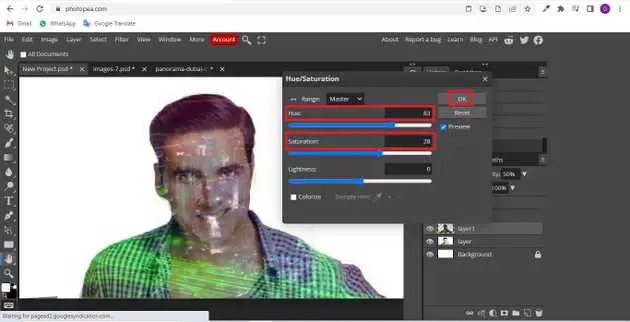
Step 5: Select the adjustment -> hue-saturation.
Go to menubar click on the image and it will open the drop-down and select adjustments -> hue-saturation.
Here set the hue saturation hue 83%, saturation 28%.
Here we have created double exposure on the image.
When you follow the above steps then it will do double exposure in photopea.
All the best 👍

