How to curve edges in photopea?
October 06, 2022Hello Friends 👋,
Welcome To aGuidehub! ❤️
To curve edges in photopea, select the rectangle tool and draw on the image. Change the opacity and go to select click on the inverse and press backspace. It will curve edges.
Today, I am going to show you how I curve edges in photopea.
Table of contents
- New page.
- Choose the rectangle tool.
- Go to inverse.
- Choose the paint bucket tool.
Let’s start with the first step.
Step 1: Insert image.
Open the photopea and Select photo, it will open a file browser or download folder you can select the image. And click the open button.
Step 2: Choose the rectangle tool.
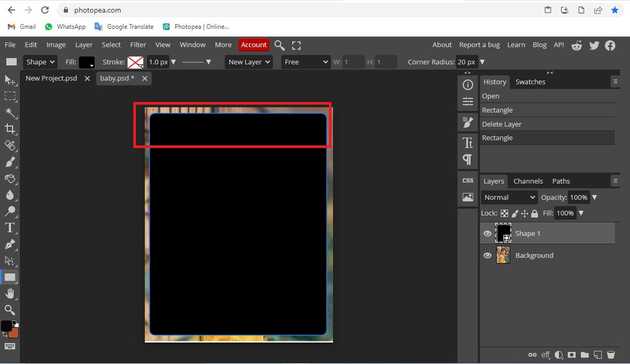
Select the rectangle tool from the toolbar on the left side of your workspace.Then change the corner radius 15px.
Click with the mouse and draw some shapes. Then, release the mouse.
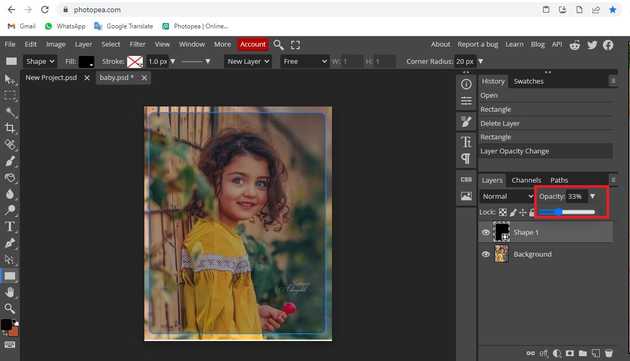
Go to the layer panel and set the opacity to 33%.
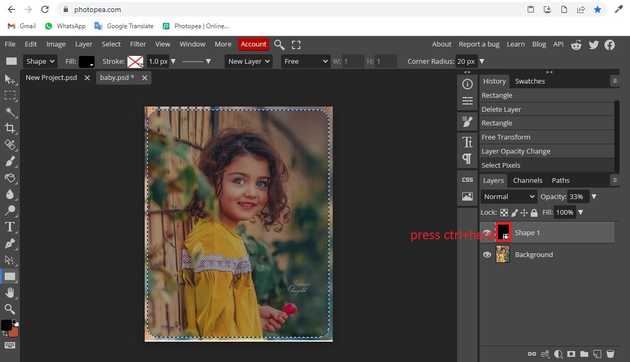
Press ctrl + thumbnail and select the shape.
Step 3: Go to inverse.
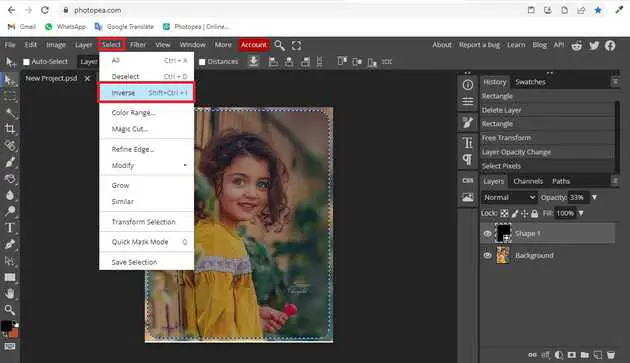
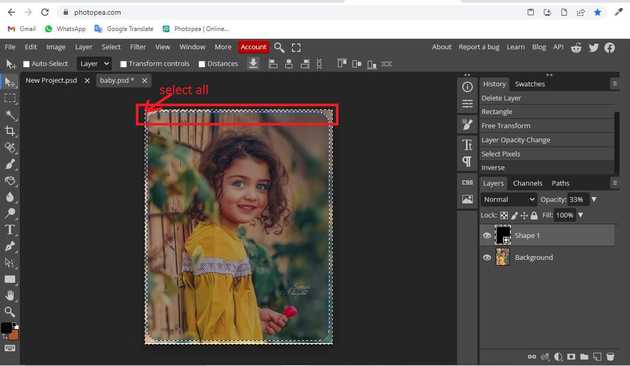
Go to menu bar, click on select then choose inverse.
Select all image.
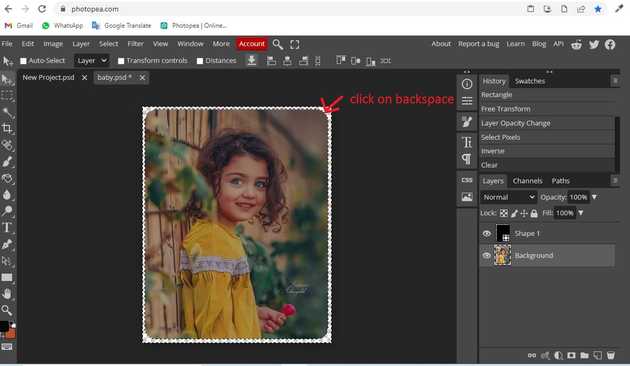
Then click on backspace.
Step 4: Choose the paint bucket tool.
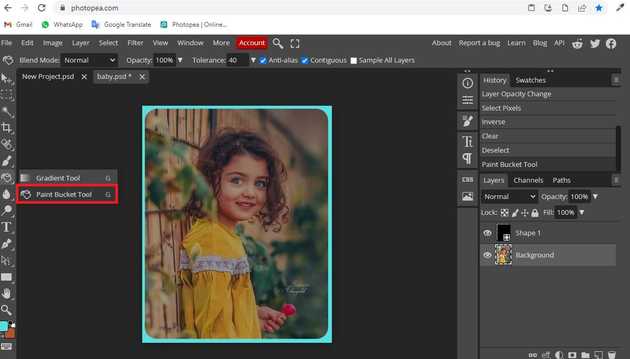
Select the paint bucket tool from the toolbar on the left side of your workspace. Then click on the image.
Final result.
When you follow the above steps then it will curve edges in photopea.
All the best 👍


