How to do pixel stretch in photopea?
October 13, 2022Hello Friends 👋,
Welcome To aGuidehub! ❤️
To do pixel stretch in photopea, when you select the quick selection tool and refine-edge, then choose the rectangle tool and select the area. now again drag the small square box thingy. It will do pixel stretch.
Today, I am going to show you how I do pixel stretch in photopea.
Table of contents
- Insert image.
- Choose the quick-selection.
- Click on the refine-edge.
- Choose the rectangle select tool.
Let’s start with the first step.
Step 1: Insert image.
Open the photopea and Select photo, it will open a file browser or download folder you can select the image. And click the open button.
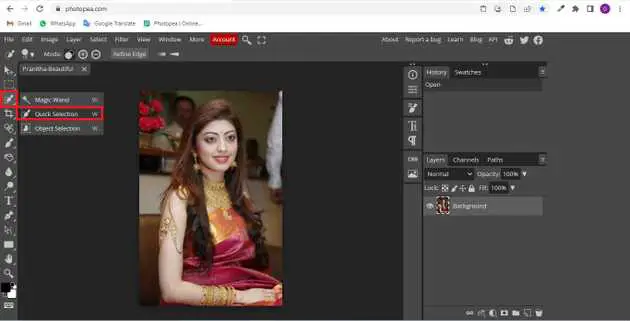
Step 2: Choose the quick-selection.
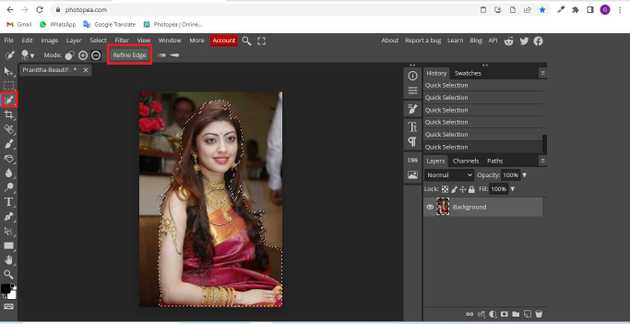
Select the quick-selection from the toolbar on the left side of your workspace. then click on the image. it’ll automatically select the outlines.
Step 3: Click on the refine-edge.
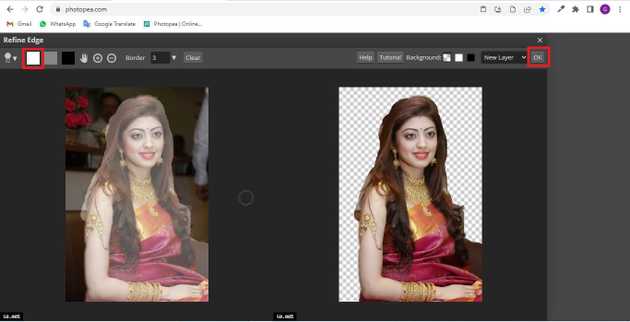
Then click on the refine-edge option.
Once you do that your background will be removed. then, click on ok.
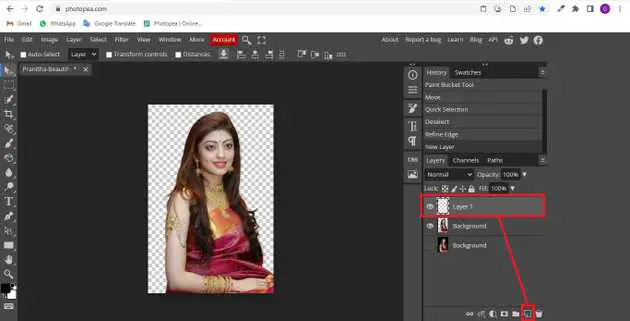
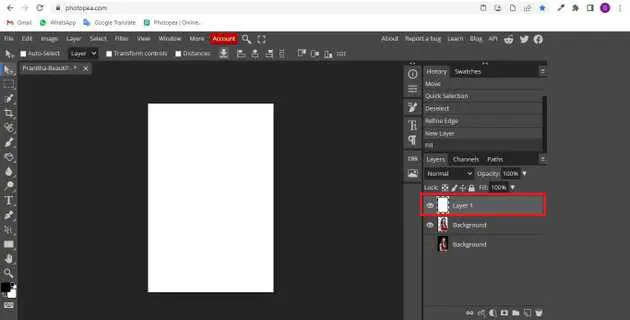
Now, go to your bottom right and click on the new layer icon.
This will add a new transparent layer. but we don’t want it to be transparent. we want to make it either white/black for this project. I want to make it white. So press the alt + backspace.
Move your transparent background image layer above then your white background layer.
Click on this.
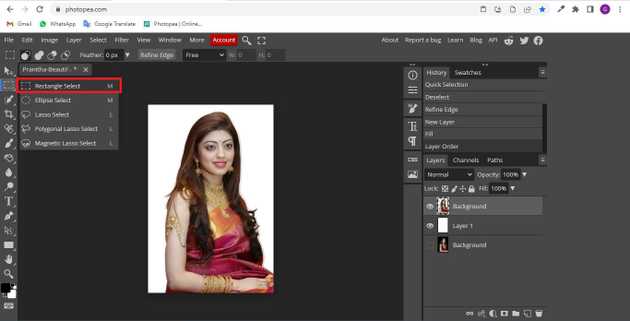
Step 4: Choose the rectangle select tool.
Select the rectangle select tool from the toolbar on the left side of your workspace.
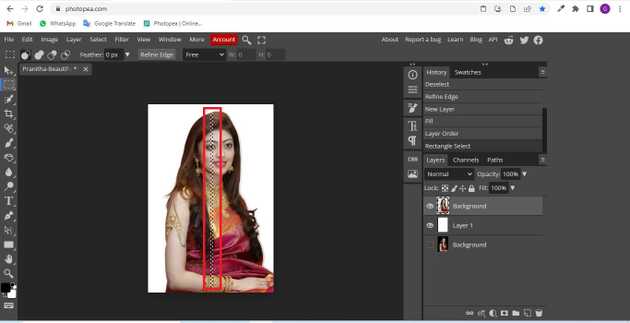
Stretch it and drag it from top to bottom. make sure that its width is 8 px for best results 2-5 px will also work.
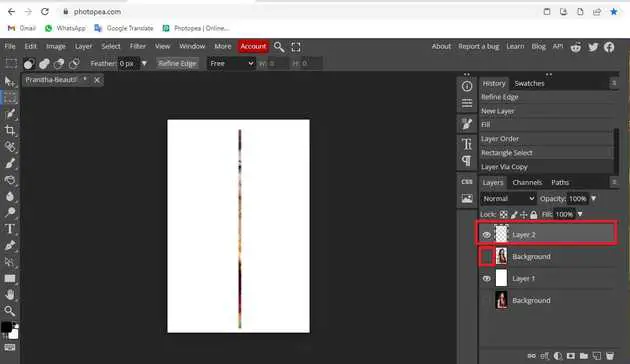
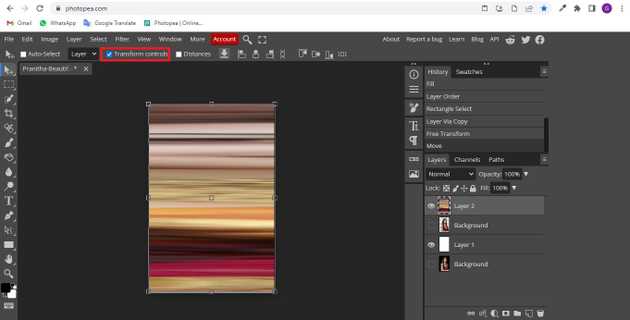
Press Ctrl + j for windows, this will add a new transparent layer. if you make the transparent background image layer invisible, then you will clearly see the line.
Click on the move tool and make sure that you’ve chosen layer 1 first.
Now, drag the square box thingy first.
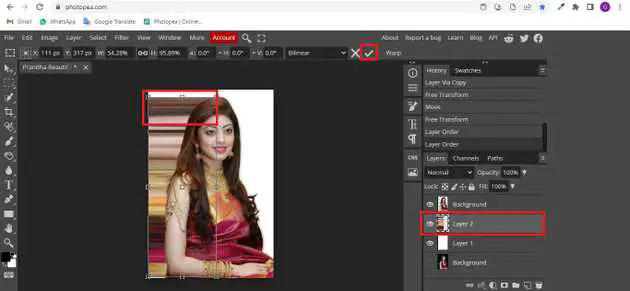
now again drag the small square box thingy.
you’ll now see the pixel stretch effect happing.
Click on the transparent background image layer to make it visible. move this layer up that’s how you create a pixel stretch.
Final result.
When you follow the above steps then it will pixel stretch in photopea.
All the best 👍

