How to make a picture less blurry in Photopea?
October 22, 2022Hello Friends 👋,
Welcome To aGuidehub! ❤️
To make a picture less blurry in photopea, Go to the top of the menu bar and click on filter -> pixelate-> mosaic and select brush tool then change the effect above the image. It will make a picture less blurry.
Today, I am going to show you how I make a picture less blurry in photopea.
Table of contents
- Insert image.
- Go to filter.
- Choose the brush tool.
Let’s start with the first step.
Step 1: Insert image.
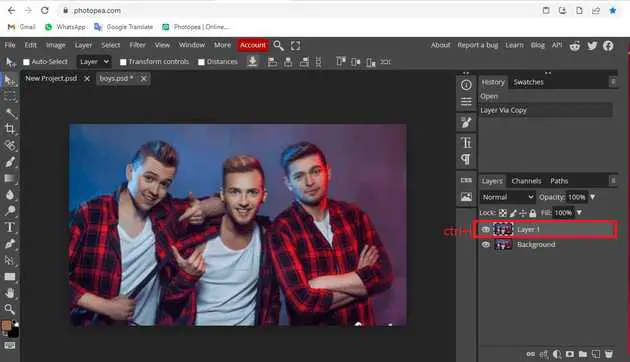
Open the photopea and Select photo, it will open a file browser or download folder you can select the image. And click the open button.
Press Ctrl + j and make a duplicate layer in the layer panel.
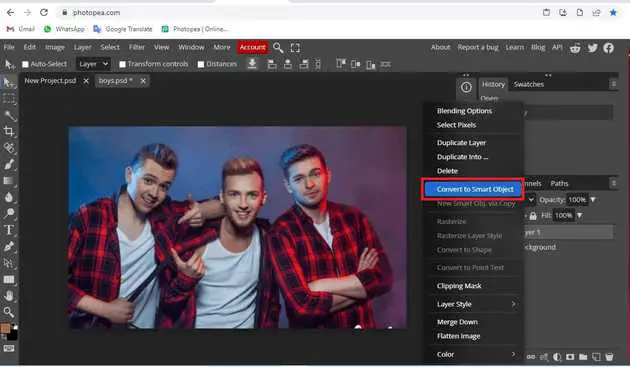
Select the layer and double click on the layer, it will open a popup, then select convert to smart object.
Step 2: Go to filter.
Go to the top of the menu bar and click on filter -> pixelate-> mosaic then change the effect above the image.
Set the cell size 12px and click on ok button.
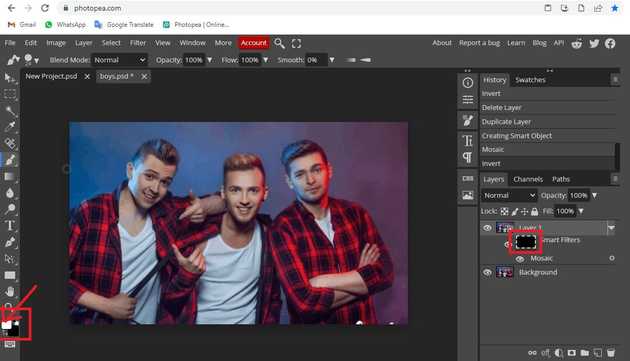
Select the smart filter and press the ctrl + I, and change the black color. and set the color box color white and black.
Step 3: Choose the brush tool.
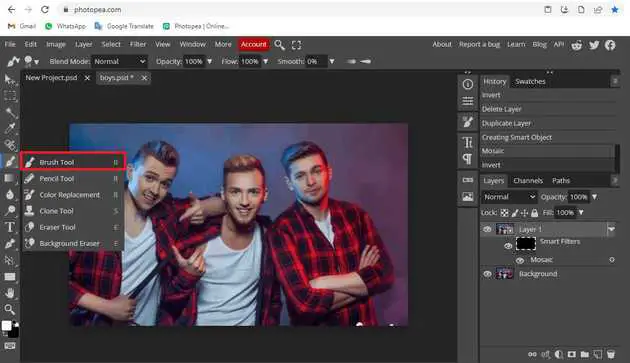
Select the * brush-tool * from the toolbar on the left side of your workspace. and select the area wherever you like and blur the image.
Final result.
When you follow the above steps then it will make a picture less blurry in photopea.
All the best 👍


