How to create a contact sheet in photopea?
September 28, 2022Hello Friends 👋,
Welcome To aGuidehub! ❤️
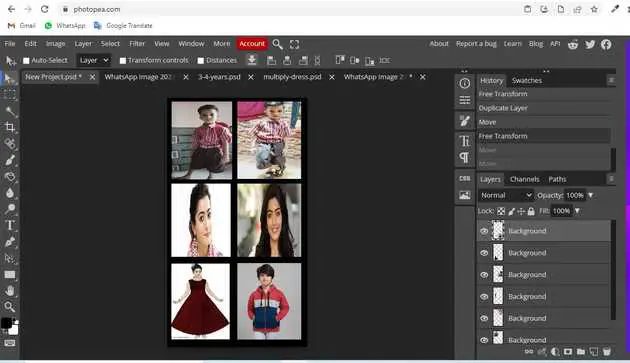
To create contant sheet in photopea, you can put multiple images in one frame and aline as the contact sheet. It will feel like a contact sheet.
There are different processes for creating a contact sheet depending on if you’re working in a dark room with analog photos or on a computer with digital photos.
Today, I am going to show you how I do create a contact sheet in photopea.
Table of contents
- New page.
- Chooge the paint bucket tool.
- Insert image.
- Save the export-as.
Let’s start with the first step.
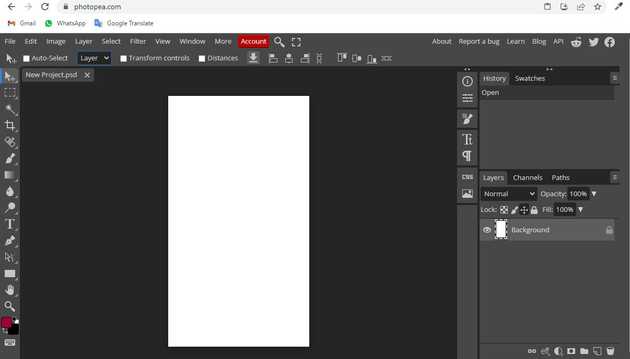
Step 1: New page.
Go to Photopea.com to start a free online photo editor. And create a new page.
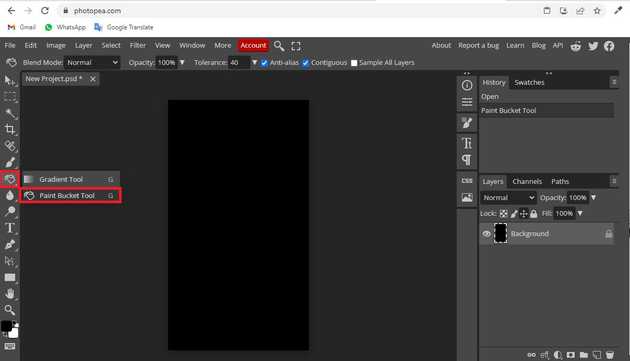
Step 2: Chooge the paint bucket tool.
First, choose the black color and go to the toolbar and select the paint bucket tool then fill on the page.
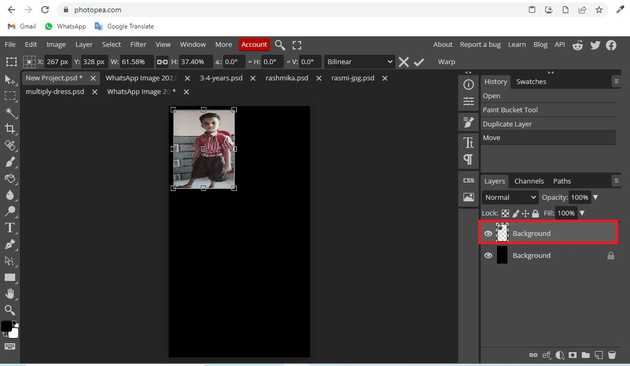
Step 3: Insert image.
it will open a file browser or download folder you can select the image. And click open button. And set the image size with help of free transform.
Here we have created a contact sheet on one page.
Step 4: Save the export-as.
Go to top of menu bar and click on file -> export-as -> .jpg then save the contact sheet.
When you follow the above steps then it will contact sheet in photopea.
All the best 👍


