How to add shadow in photopea?
July 17, 2022Hello Friends 👋,
Welcome To aGuidehub! ❤️
To add shadow, put the drop shadow effect in your image then you will see the shadow.
In this article, we will guide you in adding shadow in photopea for example.
If you want to make your logo pop or you want to make your logo attractive, then you must need to learn how to add shadow. The benefit of adding shadow to a text Is to separate your text from the background, and this is a very important thing when you make a cover image or youtube thumbnail, etc.
Table of contents
- Add the new page
- Insert image
- Create duplicate layer
- Select blending options
- Set the layer style
Let’s start with the first step.
Step 1: Add the new page
Now go to https://www.Photopea.Com, and let’s create a new project.
To create a new project, click on the file and select new from the top left corner of the Photopea interface or you can use the shortcut alt+ctrl+n to create a new project.
Step 2: Insert image.
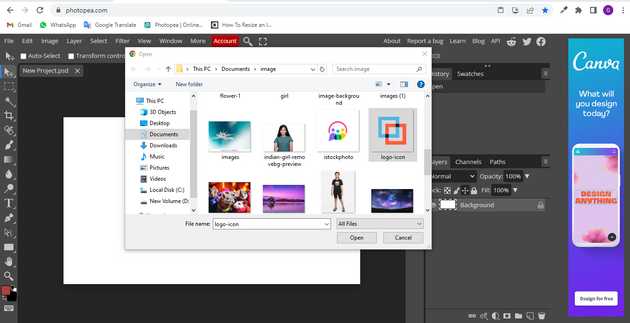
You will open a File browser or download folder, you have selected the image and click on Open button.
Step 3: Create duplicate layer.
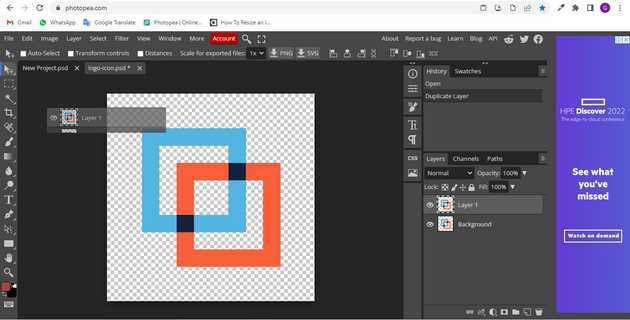
Create the duplicate layer and go to the next page.
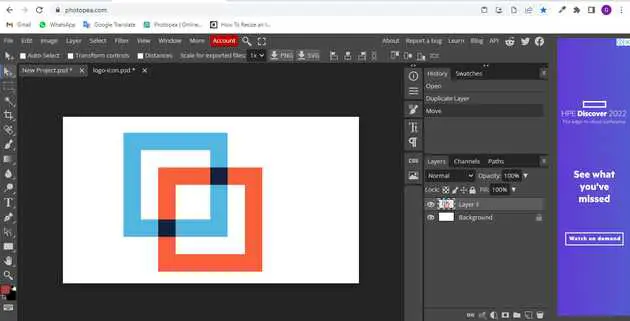
Here we will see layer on the page
Step 4: Select blending options
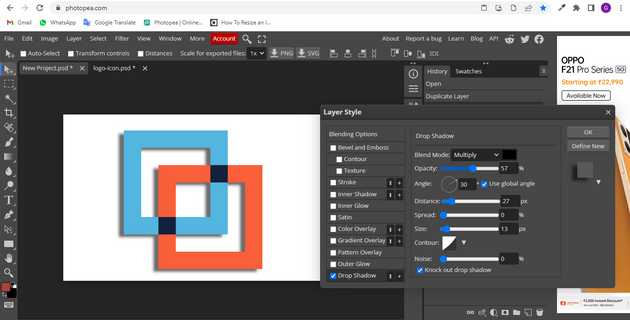
Select the logo layer from the right side of the screen. Now right on the logo layer and select blending options. Now at the end of the blending options, we have drop shadow check the box of the drop shadow, and then select drop shadow.
Step 5: Set the layer style
To add a soft shadow, first change the opacity to 57%. Now change your angle to 30, or you can change it to your according. Now change the distance to 27 px, then change the spread to 0%, and finally change the size to 13 px and now click ok.
Here we will see the final shadow effect.
When you follow the above steps then it will add a shadow and it will show on the image in photopea .
All the best 👍


